This weekend was a busy one for me. I have so many projects started that I need to finish! I get started on one, then think of another. Today I am making myself finish the burlap bulletin board I started a week ago. The materials I used are:
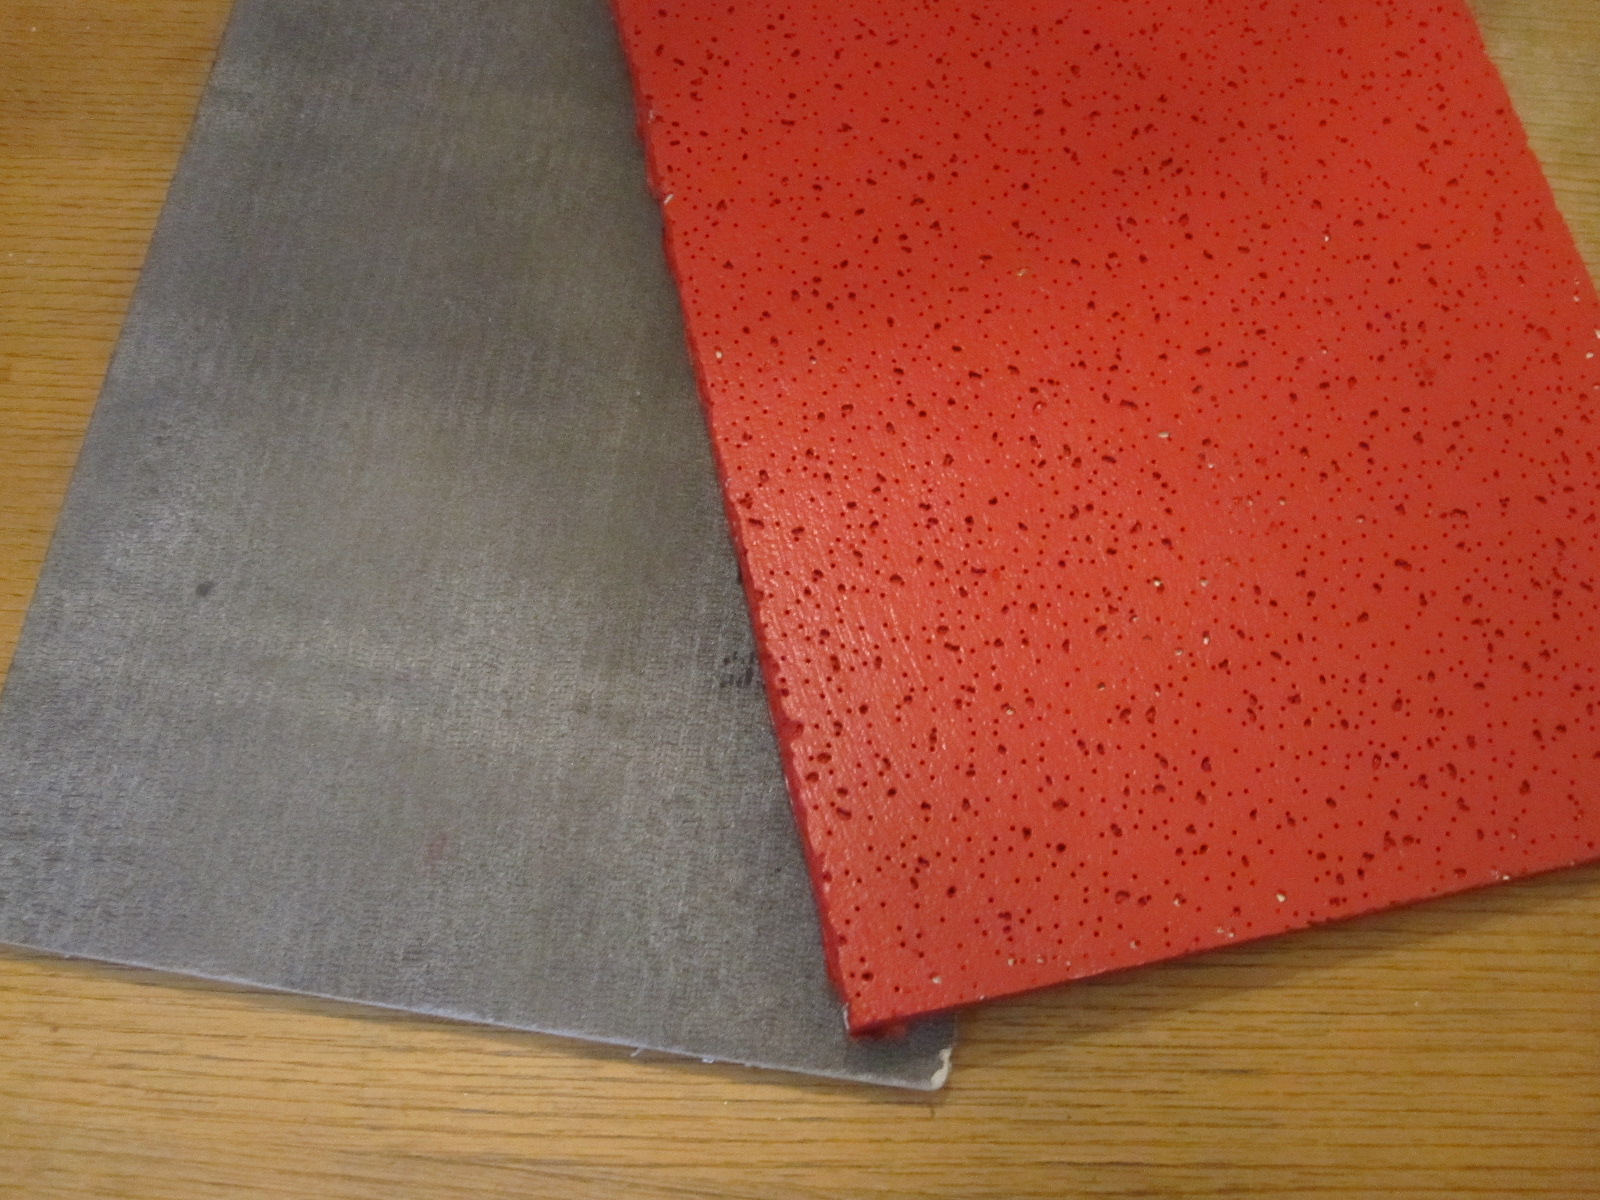
Acoustic ceiling tile 2 x 2, cut in half (Home Depot - around $3.00 for whole tile) I used one half for this project
Red satin interior paint
Black spray paint
Heavy duty stapler (not a staple gun although you could use one)
Red burlap fabric
Ribbon (to glue around edges for a finished look (I used black with white polka dots)
Optional - fabric to make flower push pins

I like to paint the front of the ceiling tile a color similar to the burlap color. This isn't necessary but the burlap has such a loose weave that I don't want too much of the white tile showing through the fabric I spray paint the back of the board with the black spray paint. In the future I might use felt backing for a twist.
I trace the board onto the back of the fabric. Then I add 3/4 to 1 inch around all four sides of the pattern. That way I can fold the edge under and staple to the edge of the board. (Unfortunately, my photo of this step did not make it to my computer - ugh) As I've stated in a previous blog, you would never guess that my Dad was a professional photographer! I fold over the edges and use the heavy duty stapler to connect the fabric to the ceiling tile. Not the neatest job but, what can I say? I get messy a lot! No problem - it will be covered in ribbon!

This is the board after stapling all around! Now - I'm ready to start finishing this! I'm starting to believe I can do it!

Then I used Liquid Stitch to glue the ribbon border around the tile. Love the 50% off ribbon at Hobby Lobby!

Finished! I added fabric flowers that I glued onto tacks. I also tried wrapping the fabric around a push pin. Both worked well. I learned how to make these flowers at Our Best Bites. Then I stapled ribbon on the back to hang this on the wall. I really wanted to make a pretty bow but after several attempts I realized I'm not so hot at pretty bow making. I'll be working on this at a later date. Keep you posted!

Voila! I finished my project. It will be used as my Christmas Card display for now. Next up - stay tuned! I'll show you what I did with the other half of the ceiling tile.

MERRY TO ALL!

I love this What a great and inexpensive way to make something so cute Thank you for one really great idea!
ReplyDelete@Bakeholic At BirthThans so much!
ReplyDeleteI am sitting in laundry room looking at tiles we were about to throw out...not NOW!
ReplyDelete@AnonymousMost definitely don't throw them out! I have even seen these painted - so many ways to dress them up!
ReplyDelete